How to Record Your Life Story on Your Own
At Carousel Archival Stories, we have the privilege of helping families preserve the stories, memories, and experiences that might otherwise be lost with time.
Of course, we would be honored to work with you and professionally record your life story. But we also recognize that not everyone is in a position to do so. Whatever the reason, we believe that should never become an obstacle to preserving the memories that matter most.
What matters most is not that the recording is professionally produced. What matters most is that it exists.
Over the years, we have learned a number of lessons while filming personal stories. We'd like to share some of the techniques that consistently make these recordings more engaging, more beautiful, and more meaningful. We have distilled those lessons into Eight Rules for Recording Your Life Story. We hope the following suggestions help you create a film that your family will cherish for generations.
~
Recording your own life story does not require expensive equipment. A modern iPhone or Android phone can produce beautiful video if it is used thoughtfully. The most important ingredient is not the camera—it is you and the stories you have to tell.
1. Keep the Camera Steady
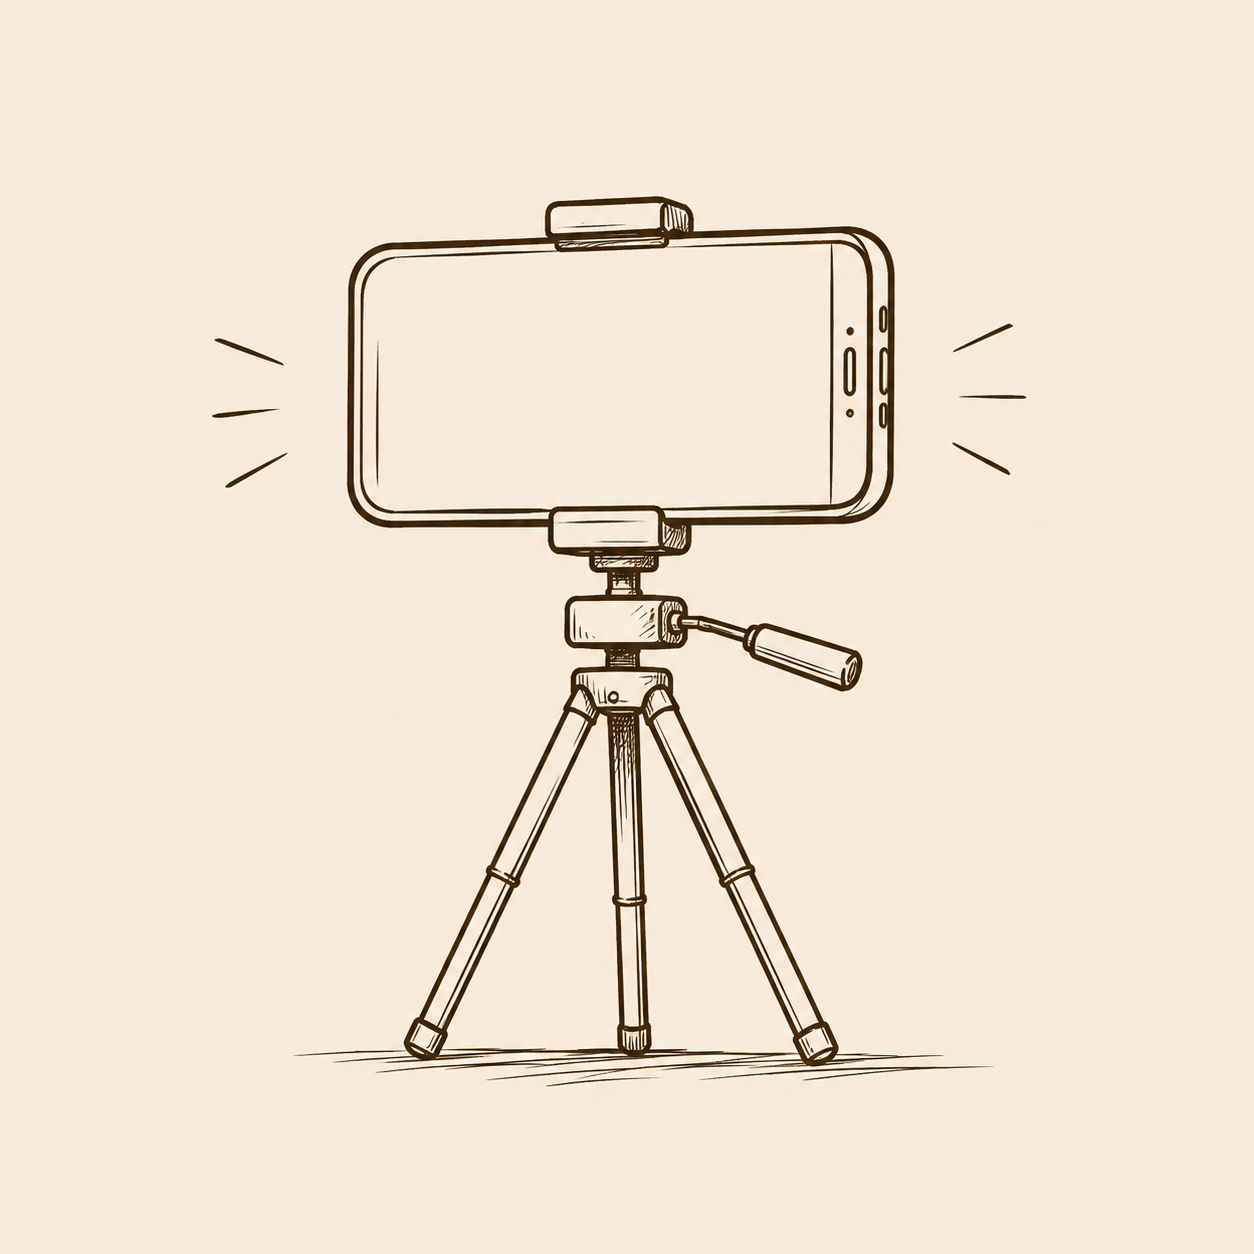
Place your phone on a tripod, stand, or other stable surface. Avoid holding it in your hand, as even small movements can become distracting to viewers.
Position the camera at approximately eye level. Looking directly toward the camera creates a natural connection with the audience.
2. Frame Yourself Naturally
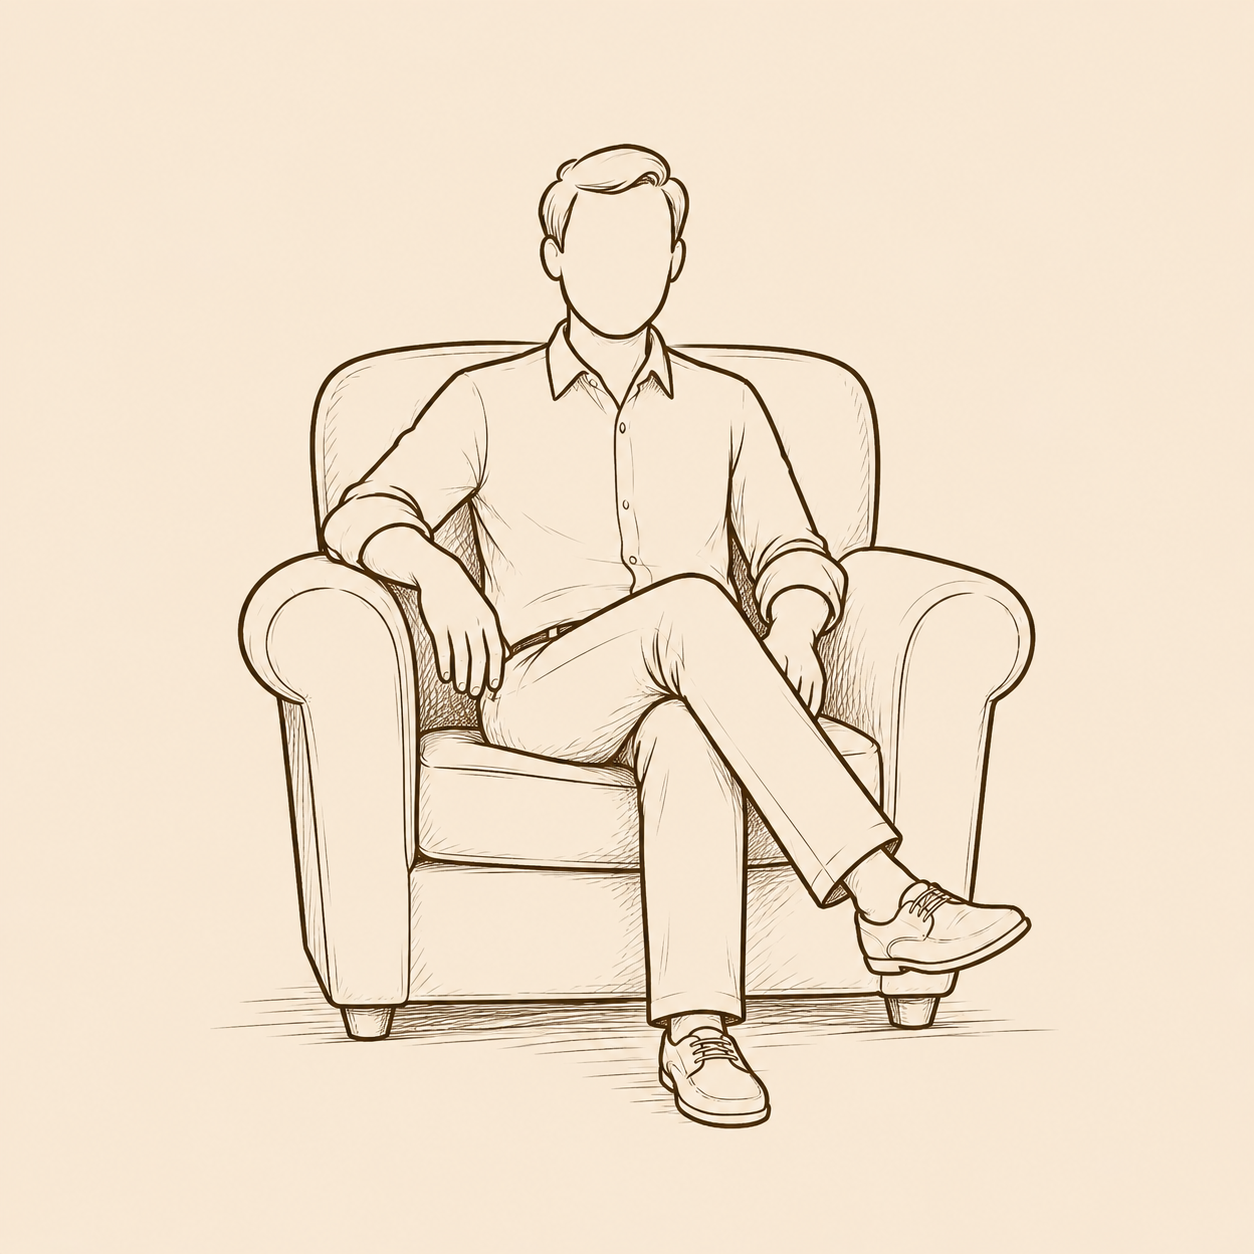
Your recording does not need to be a close-up of your face. In fact, it is often more comfortable and visually pleasing to include most of your upper body—from around your waist or chest to just above your head.
Leave a little space above your head, and avoid placing yourself too close to the edges of the frame. A relaxed, natural composition allows viewers to focus on your expressions and gestures.
3. Pay Attention to Your Background
Your background tells part of your story as well.
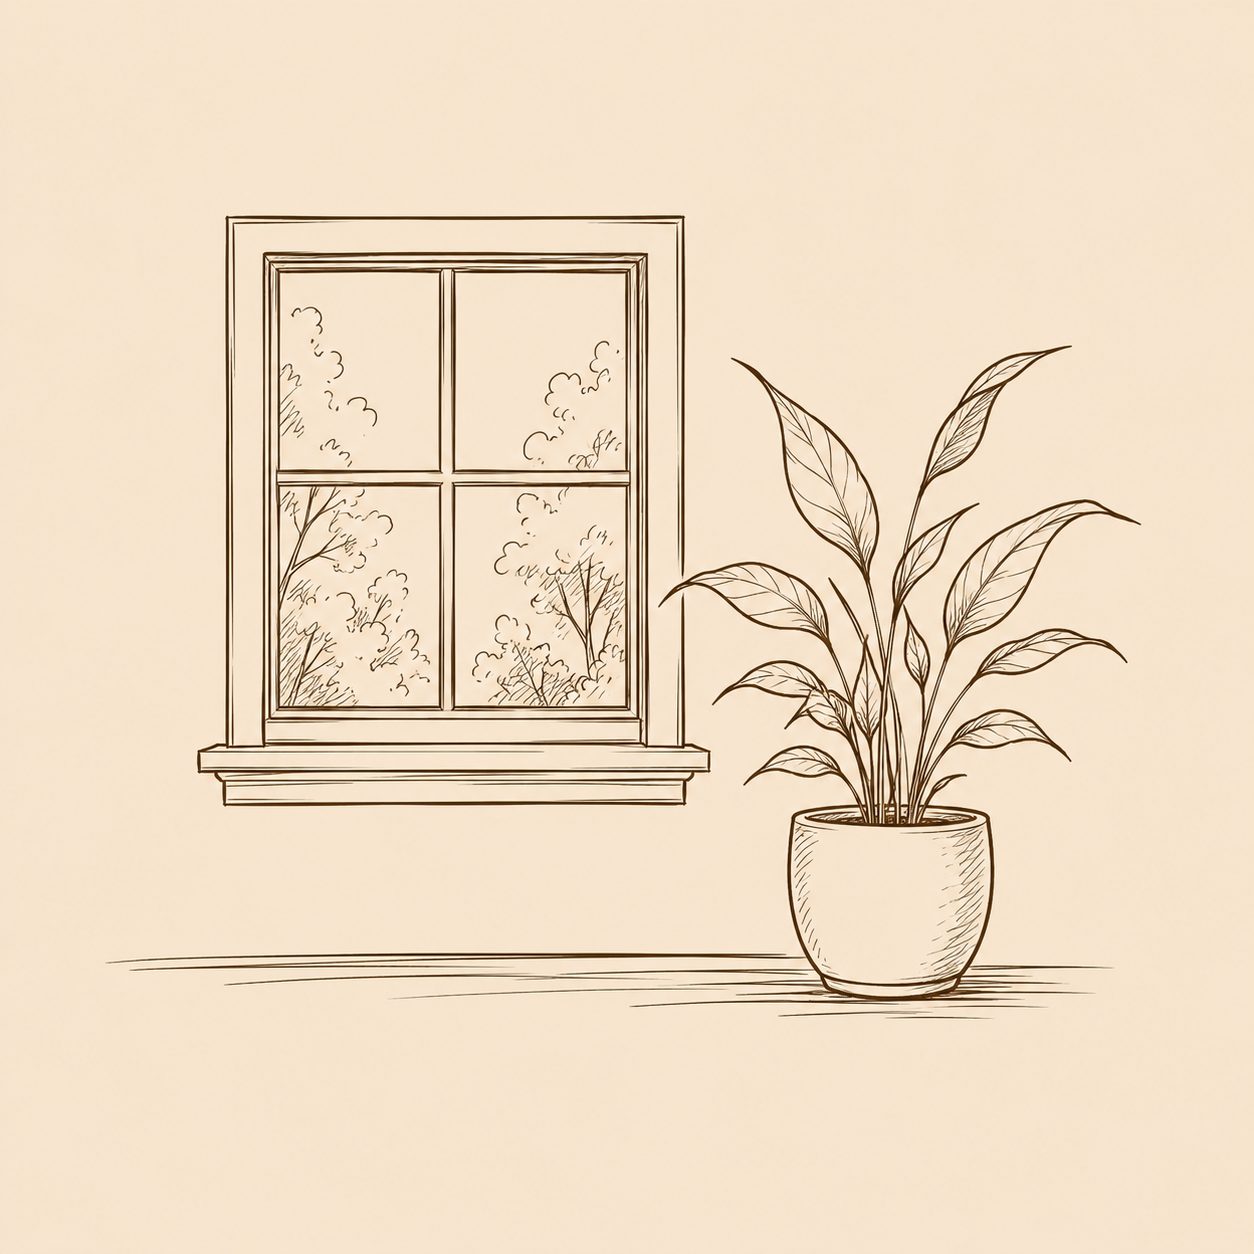
Instead of sitting directly against a blank wall, try to create some depth by placing yourself several feet in front of the background. A room with bookshelves, family photographs, artwork, plants, or a window can make the image feel warmer and more inviting.
Be aware of what appears behind your head. Avoid distracting objects, clutter, or items that seem to "grow" out of your shoulders. A balanced, symmetrical composition often feels calm and professional, although a slight offset can also look very natural.
Simple is usually better than busy.
4. Use Family Photographs
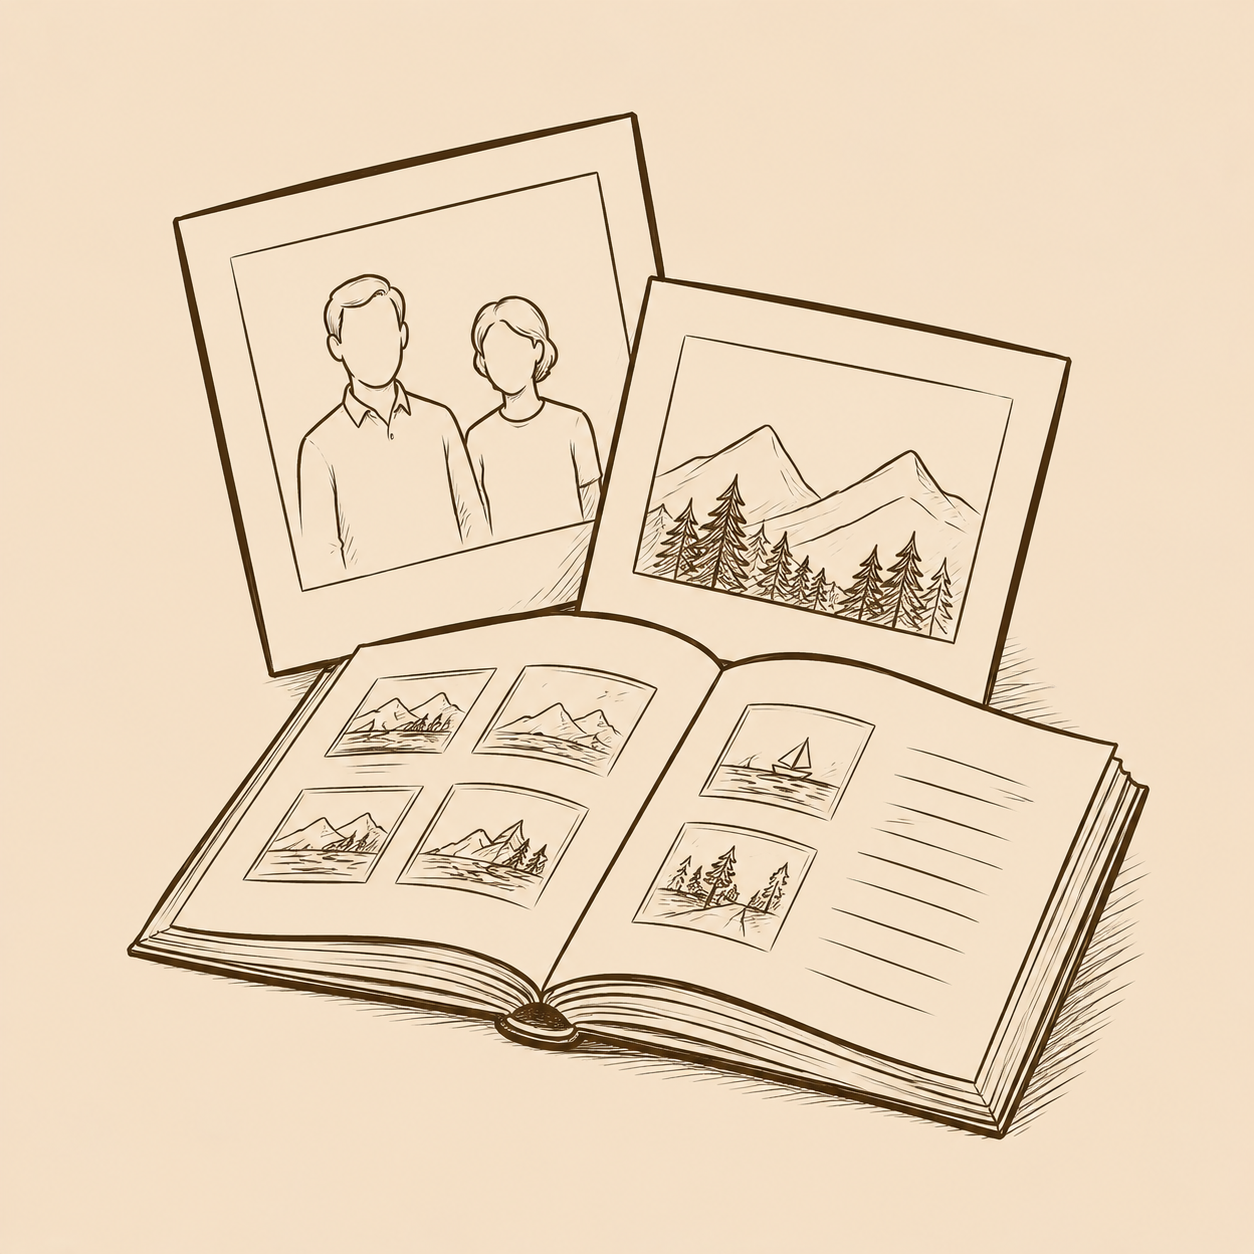
Photographs help bring your stories to life.
When telling a story, hold up the photograph so viewers can see it. You don't need to keep it in front of the camera for very long—just long enough to show the people or places you're describing.
After recording, scan the original photographs at a high resolution. During editing, the scanned images can be inserted into the video, allowing viewers to see every detail while you continue telling the story.
The combination of your voice and your family photographs creates a much richer and more engaging memoir.
5. Tell Small Stories
One of the most common mistakes people make is trying to summarize an entire lifetime.
Instead, focus on small, self-contained moments that remain vivid in your memory.
Perhaps it was your first day at school, a family vacation, the moment you met your spouse, a memorable conversation with your father, or an ordinary afternoon that somehow stayed with you for decades.
If you still remember a particular incident after many years, it is usually because it contains a larger truth about your life.
At Carousel Archival Stories, we encourage you to think small. Individual moments often reveal the biggest themes—love, sacrifice, resilience, humor, friendship, and family. A collection of these stories naturally becomes the larger story of your life.
6. Speak Naturally
Imagine you are talking to a grandchild, a close friend, or someone many years in the future.
Don't worry about speaking perfectly. Pause when you need to. If you lose your train of thought, simply stop for a moment and begin again. Small imperfections make your recording feel genuine and authentic.
There is no need to rush.
7. Record in a Quiet, Well-Lit Room
Choose a quiet location where you won't be interrupted.
Natural light from a window often produces beautiful results. If possible, face the window rather than sitting with the window behind you. Avoid strong backlighting, which can make your face appear dark.
Turn off televisions, radios, fans, or other sources of background noise whenever possible.
8. Preserve Your Recording for Future Generations
After your recording is complete, create a separate copy of the video file and save it to an external hard drive or USB flash drive.
Do not rely solely on your phone, computer, or cloud storage. Technology changes, computers fail, and files can accidentally be deleted. A dedicated archival copy greatly increases the chances that your memoir will survive for future generations.
Just as importantly, clearly label both the storage device and the box containing it.
Write clear, specific information on the label. Don't just write "Grandma's video." Instead, include:
-The full name of the person featured
-A description of what the recording is (e.g., "film memoir")
-The exact date it was recorded
For example: "Film memoir by Jane Smith, recorded on March 3, 2025."
~
The more specific your description, the more valuable it will be decades from now. Someone who discovers the recording years in the future should immediately understand what it contains, who created it, and when it was recorded.
A little organization today can preserve your family's history for generations to come.